Import Custom Tables
This topic describes how to import a custom table.
To import a custom table
- Perform one of the following steps:
- Double-click the custom table package
.ctpkgfile and provide your credentials to open Easy Workflow Cockpit. The Import Custom Table window is displayed with the package information. - In Easy Workflow Cockpit, select Manage > Custom Tables > Import, and then select the custom table that must be imported. The Import Custom Table window is displayed with the package information.
- Double-click the custom table package
- Select Next.
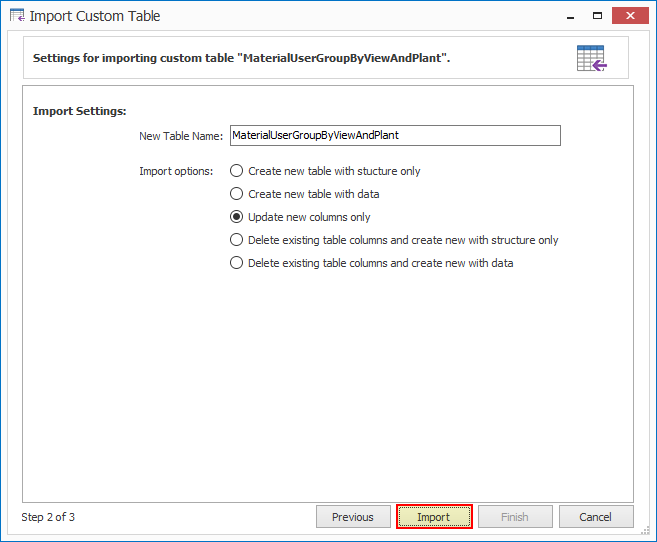
- In the Import Settings section, enter a name for the custom table in the New Table Name box to update the name of the table.
- Select one of the following options:
- Create new table structure only: Creates new custom table with only structure.
- Create new table structure with data: Creates new custom table with structure and data.
- Update new columns only: Updates only new columns in the custom table.
- Delete existing table columns and create new with structure only: Deletes all the columns from existing custom table and creates custom table with only structure. No data is imported.
- Delete existing table columns and create new with data: Deletes all the columns from existing custom table and creates custom table with structure and data.
- In the Import Confirmation dialog box that is displayed, select Yes to confirm the custom table import.
- Select Finish. The custom table is imported.
Related Topics: