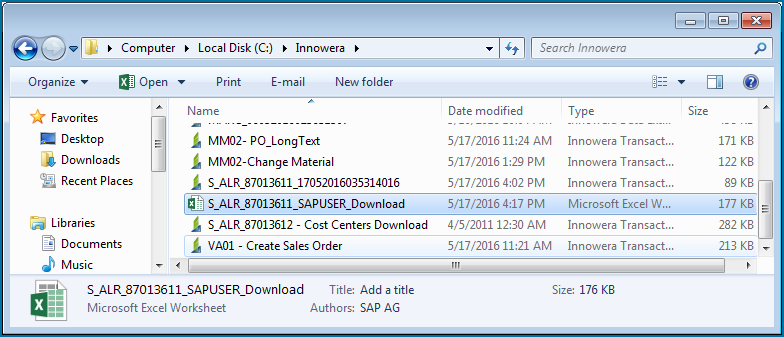
SAP to Excel Report Export
SAP end-users or auditors need reports frequently. You can use the “SAP to Excel Report Writer” feature to record the transaction for which you want to export the report. After it is recorded, you can run the transaction and get the required reports in a matter of seconds.
The section describes the prerequisites and two example scenarios of the SAP to Excel report export feature.
- While running such report export transactions ensure that you have only one active instance of Process Runner.
- Users should have required authorization to download the reports.
- This feature is tested on SAP Version 710. Patch level should be installed.
- Office Integration settings required before exporting report through Process Runner.
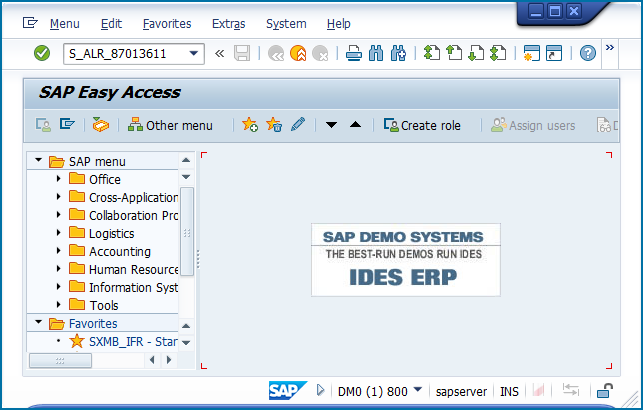
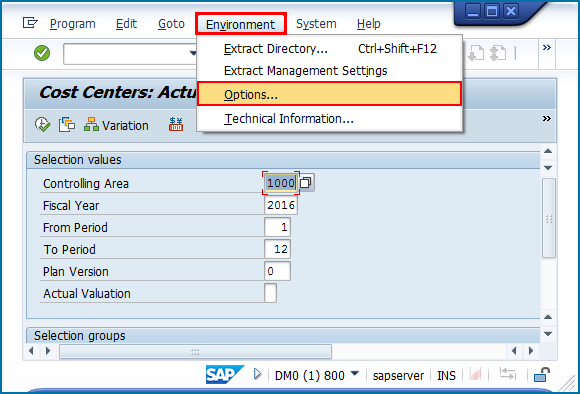
- Launch SAP and type S_ALR_87013611.
- Navigate to Environment > Options.
- In Office Integration, select Microsoft Excel and click Ok.
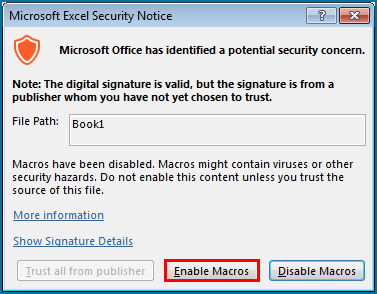
- SAP will give a warning about the document containing Macros. Select Always trust macros from this publisher and click Enable Macros.
- Exit SAP.
- You might have to check your macro settings in Microsoft Excel also.

For more information on how to do it refer Excel Macro Settings.
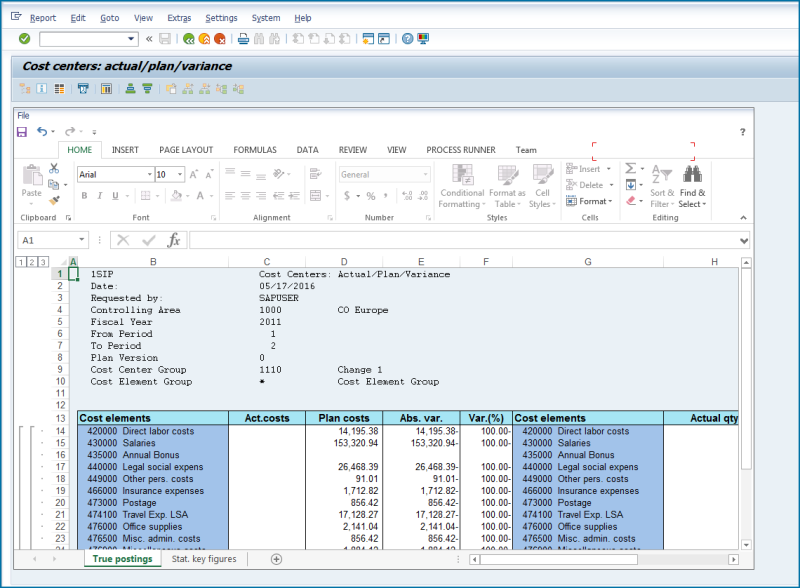
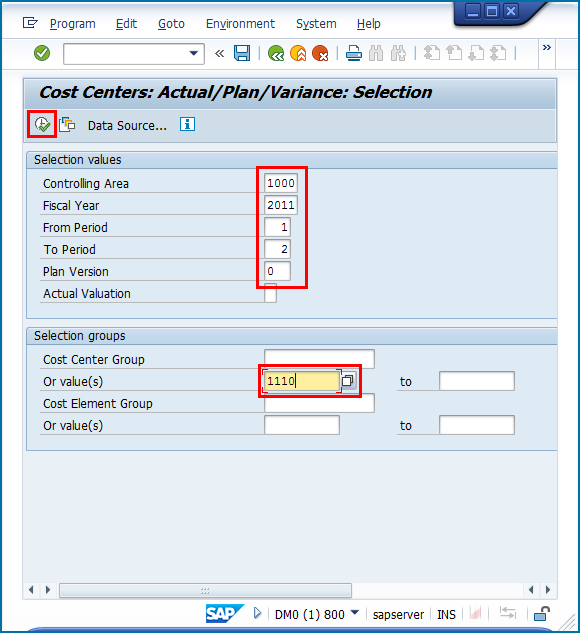
Let’s say we want to download a report pertaining to cost center group 1110 as shown below:
- Start Process Runner
- In new transaction wizard type S_ALR_87013611.
- Click Start Recording.
- Select Start Recording. The Magnitude Connector for SAP window is displayed. Perform the following steps:
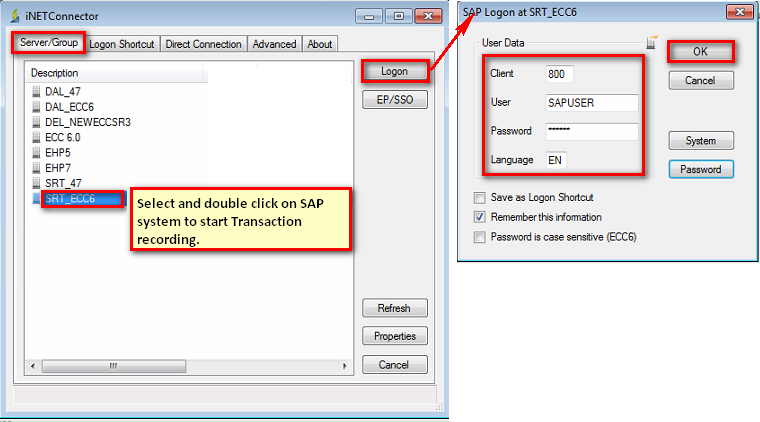
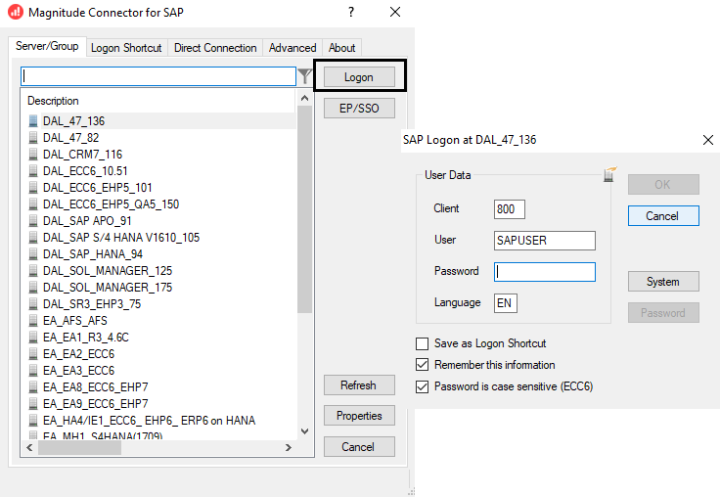
- Select the SAP system, select Logon, and enter the information for Client, User, Password, and Language.
- Select OK. Process Runner displays a progress bar to indicate that the recording is in progress.
- Enter the relevant details. Ensure that you enter specific cost center group value (in our case its 1110). Press F8 or execute.
- In the next screen with In-Place Excel click back button.
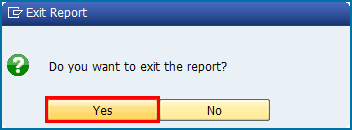
- Click Yes on Exit Report screen.
- If still in SAP GUI keep on clicking Back button till you exit and come back to Process Runner’s New transaction Wizard.
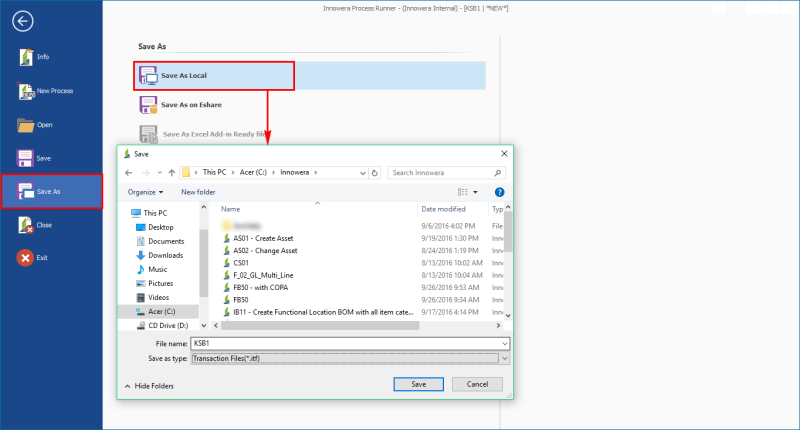
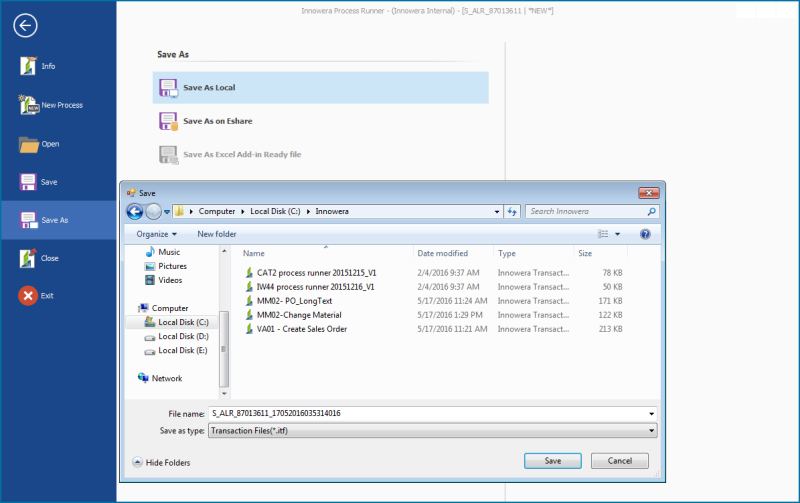
- Click OK and create the transaction file.
-
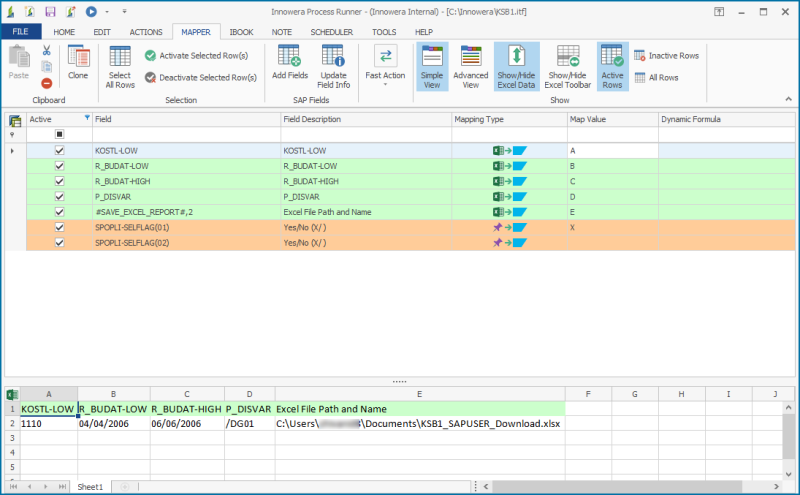
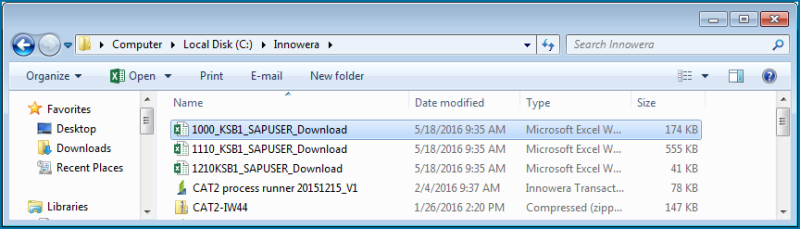
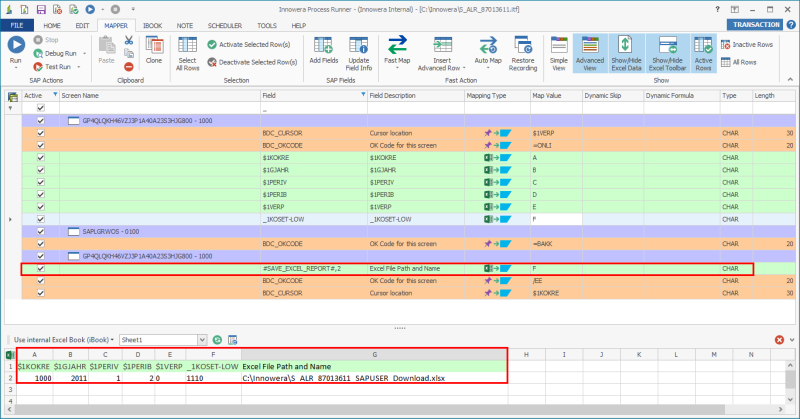
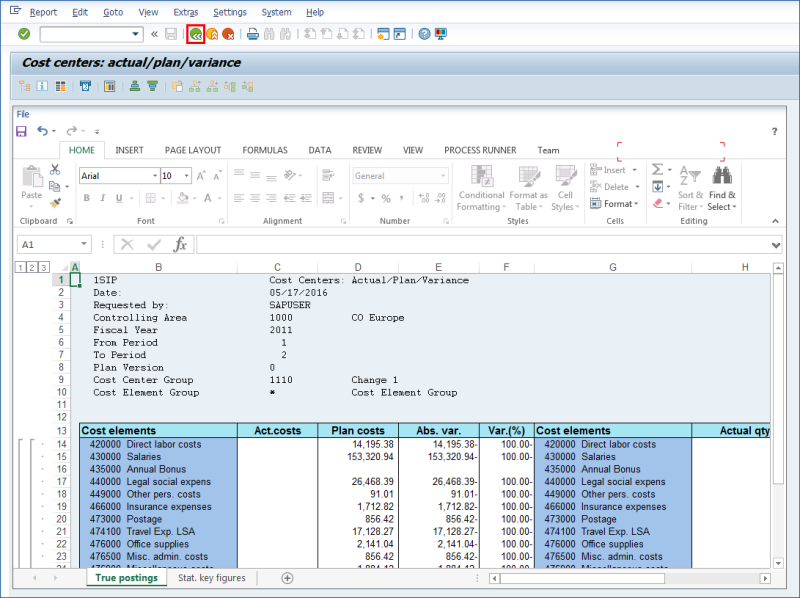
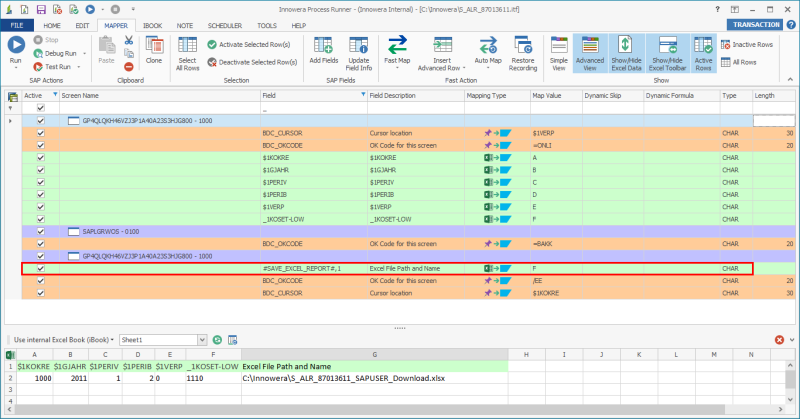
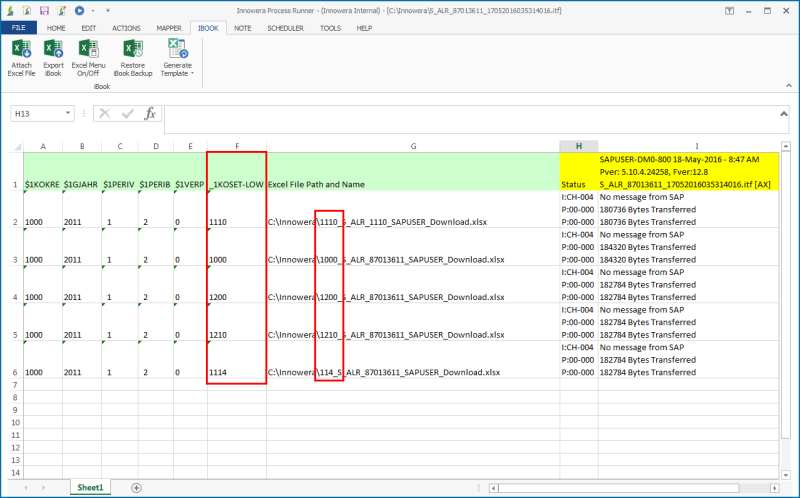
Once the file is created go to Mapper. Notice the recording and excel template generated automatically by Process Runner. Process Runner also automatically added #SAVE_EXCELREPORT#,2 field in Mapper and set its map value to G which by default points to
\\Mydocuments path. This is the Excel report writer field. The number after comma (here it is 2) is the parameter.If there is no parameter then it will skip exporting that report.
It accepts two types of parameters (which you can edit in Mapper itself):
#SAVE_EXCELREPORT#,2 = If the report already exists in the specified location parameter 2 will make a different report file with date-timestamp.
#SAVE_EXCELREPORT#,1 = If the report already exists in the specified location parameter 1 will overwrite the file.
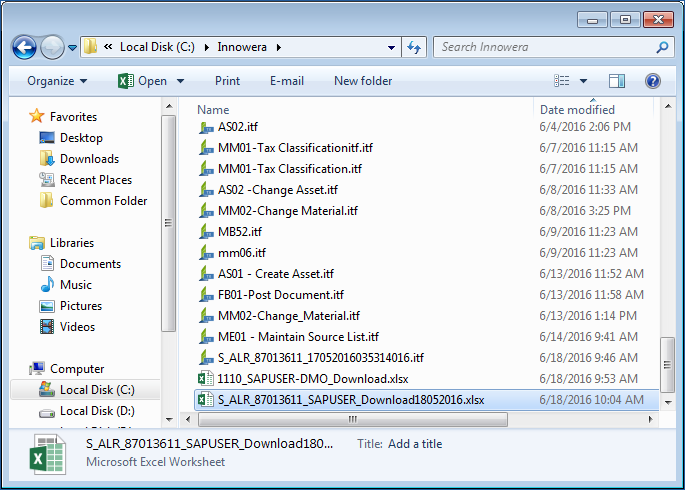
Click Run. The report will be exported to the path specified in column G of external Excel file.
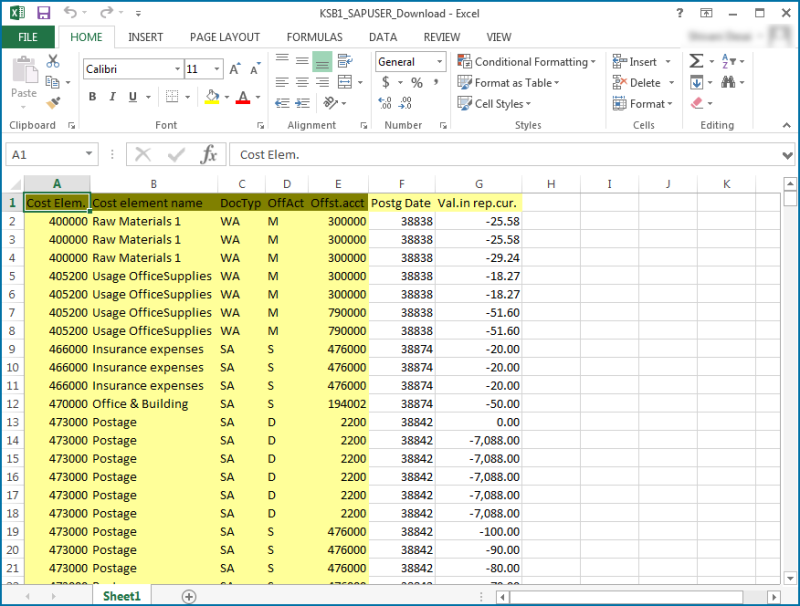
- Open the Excel report file and verify the output.
- As explained in 10 here we have 2 as the parameter to our Excel report writer field. If we run again it will create a new report file (although the report exported is same as existing) with a different file name.
- Parameter 1 overwrites (depending on the report file name in column G) any existing report.
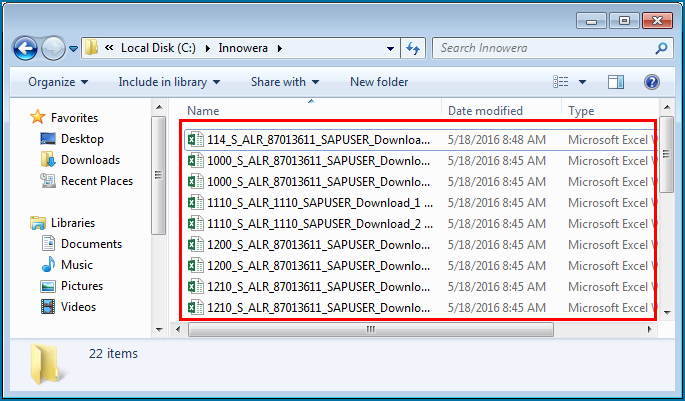
- Similarly, you can export multiple reports by entering the Cost center group entry in column B and its corresponding output name in column G.


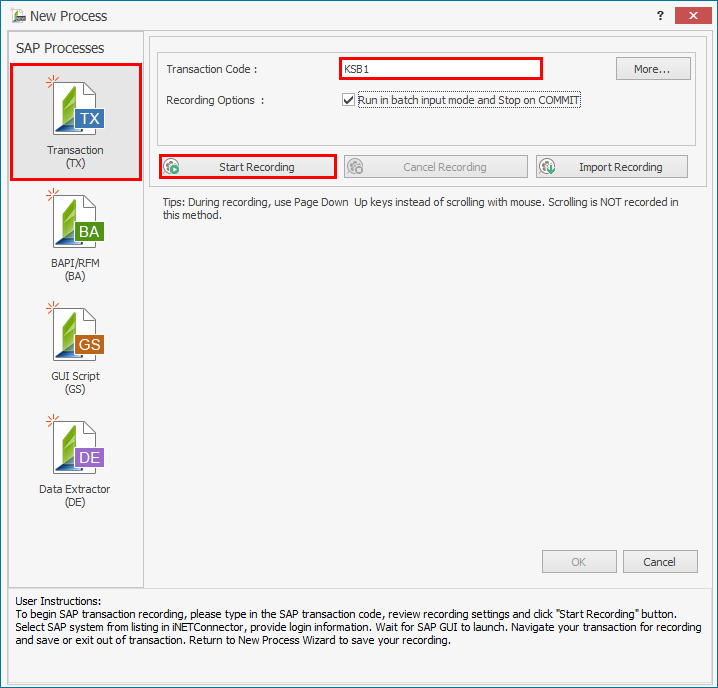
Let us take another Excel report export example of KSB1.
- Start recording KSB1 from the New Process window.
- Enter the logon details.
-
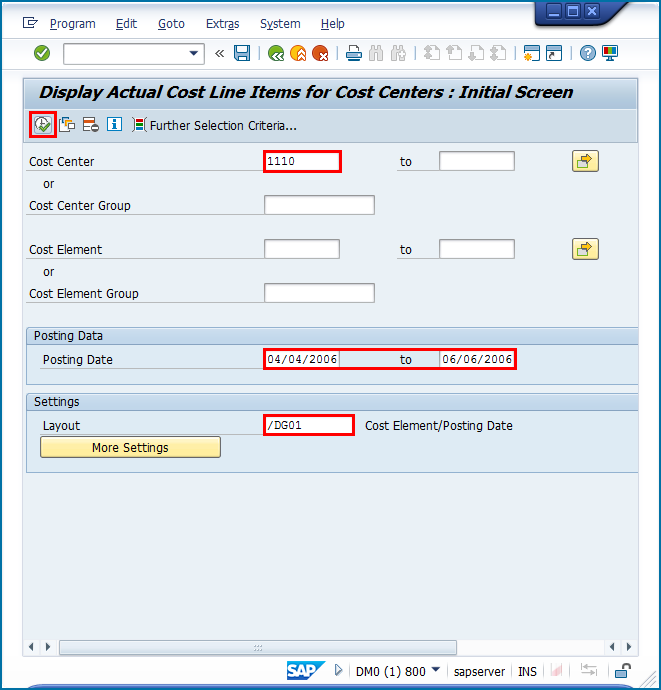
Enter the cost center (1110 in here), Posting date and layout (if any specific) for which you want to export report. Press F8 or Execute button.
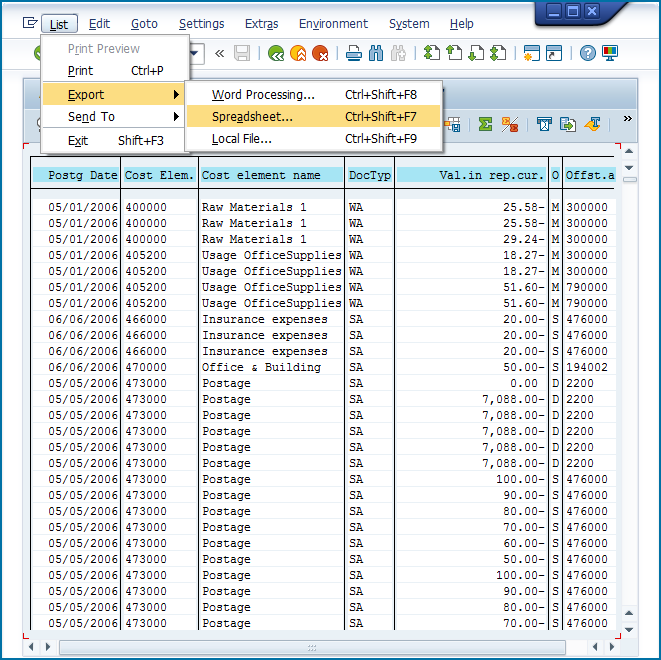
- In the next window, navigate to List > Export > Spreadsheet menu.
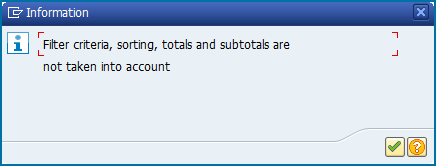
- Click Ok in the Filter criteria dialog.
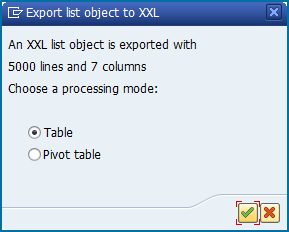
- Select Table and click OK.
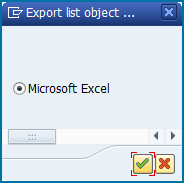
- Select Microsoft Excel and click OK.
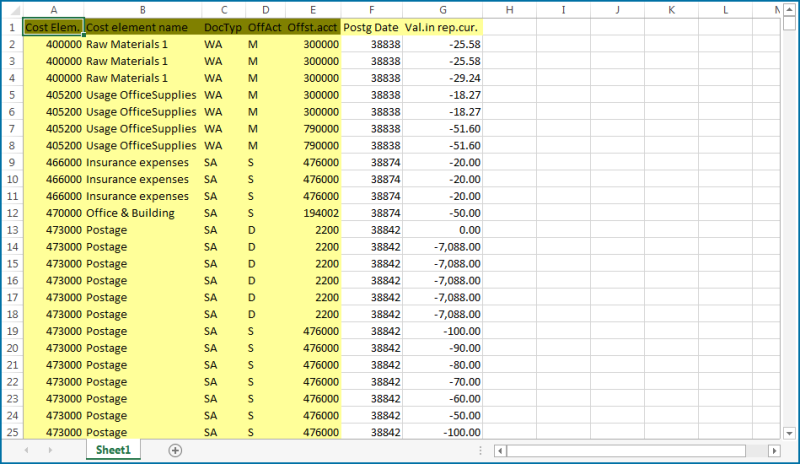
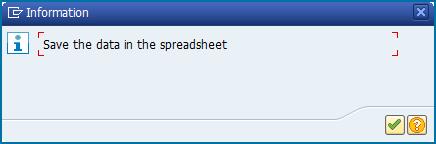
- The report pops up automatically in an Excel file. Do not close it. Press Alt+Tab to go to a SAP message prompt.
- Confirm the SAP message to Save the data in spreadsheet by clicking OK.
- Back in the New transaction wizard click OK to create the file.
- Examine Mapper and “#SAVE_EXCEL_REPORT#,2” field. Refer Example 1 to understand the functioning of this field.
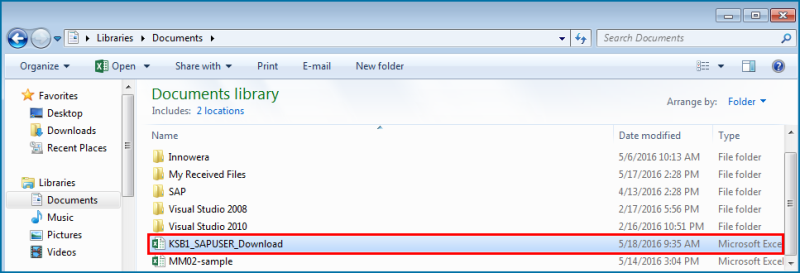
- Click Run and it should export the report to
\\Mydocuments(the path specified in column D) - Open and verify the data in exported Report file.
- Similarly, you can export multiple report files as shown in the following screenshot.